Crown Molding for Walls Design Ideas and Installation Tips
Crown molding is a timeless architectural feature that adds a touch of elegance and sophistication to any room. While it’s commonly used on ceilings, crown molding for walls offers a unique and stylish way to frame and enhance the perimeter of your living space. Whether you’re designing a traditional living room or updating a modern bedroom, crown molding can instantly elevate the visual appeal of your walls.
In this guide, we’ll explore creative design ideas for crown molding on walls, installation tips, and how it can transform your room’s aesthetic.
✨ Why Use Crown Molding for Walls?
1. Adds Elegance and Sophistication
Crown molding brings an undeniable sense of refinement to any room. When applied to the walls, it serves as a decorative accent that frames the space, creating a finished and polished look. It’s particularly effective in formal areas such as living rooms, dining rooms, and entryways, where the design calls for an elegant statement.
2. Visually Enhances Room Dimensions
Crown molding can also serve as a tool to optically adjust room dimensions. If you have low ceilings, using smaller, simpler crown molding can give the illusion of height. On the other hand, taller or more ornate crown molding can help balance out larger rooms and make the space feel proportionate.
3. Conceals Imperfections
Over time, walls may develop imperfections, such as cracks or uneven finishes. Crown molding is an excellent way to disguise these flaws, providing a clean, uniform edge between the wall and ceiling. Additionally, crown molding can hide gaps between the wall and ceiling, making the entire room look more polished.
4. Creates Visual Interest
Crown molding is an excellent way to break up large or plain wall spaces and add visual interest. Whether you’re using it to frame windows, doors, or other architectural features, crown molding can highlight specific elements and bring attention to their design.
🎨 Design Ideas for Crown Molding on Walls
There are endless ways to incorporate crown molding into your room design. Here are some creative ideas to get you started:
1. Frame the Top of Your Walls
One of the most popular ways to use crown molding is by framing the top edge of your walls to create a distinctive border between the ceiling and walls. This design works especially well in traditional or classic-style interiors, adding a layer of detail and sophistication.
2. Create a Coffered Look
For a more dramatic effect, consider installing crown molding in a coffered pattern along your walls. This involves creating a grid of squares or rectangles, which can make the walls feel more structured and architectural. The coffered look works particularly well in larger spaces or rooms with high ceilings.
3. Accent Specific Features
Crown molding is ideal for highlighting specific architectural features, such as windows or doors. By adding a frame of molding around a window or door frame, you can draw attention to those areas and create a more refined, polished look. This works particularly well in areas where you want to add a bit of drama, such as in a dining room or home office.
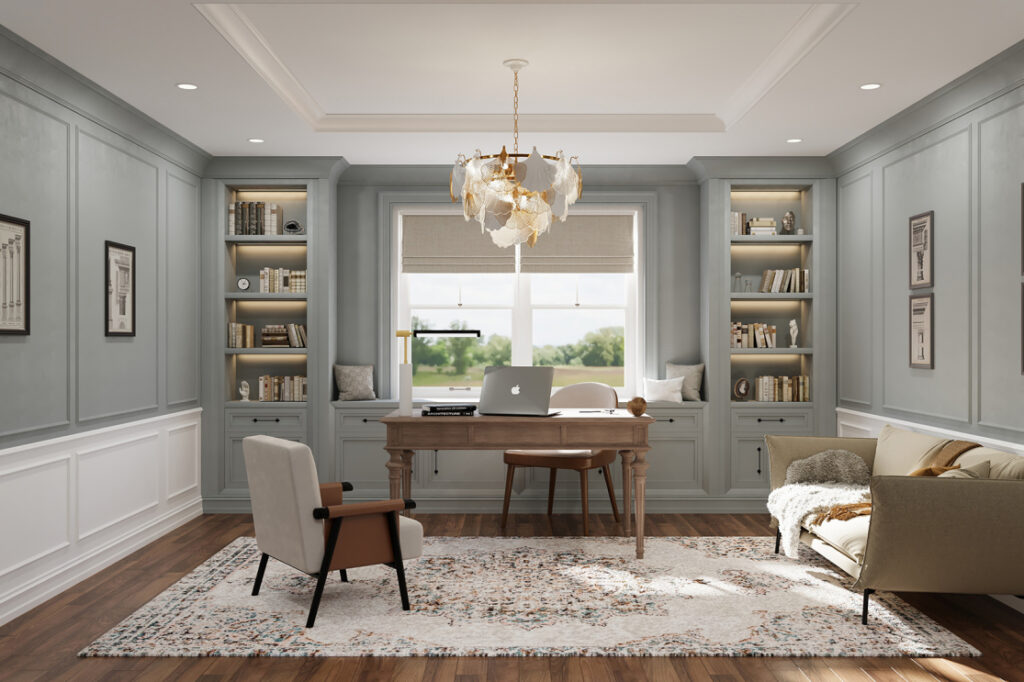
4. Combine with Wainscoting
Pairing crown molding with wainscoting can create a more classic, traditional look. This combination of molding along the walls and paneling on the lower half of the wall is perfect for adding texture and dimension to your space. Consider adding crown molding along the top edge of wainscoting for a seamless transition from wall to panel.
5. Use Molding to Frame Art or Mirrors
Frame your artwork or mirrors with crown molding to give them a more finished, gallery-style look. This treatment can make your wall decor feel like an intentional part of the room’s design, enhancing its presence and importance.
🔨 Installation Tips for Crown Molding on Walls
While installing crown molding on walls may seem like a challenging task, with the right tools and tips, you can achieve professional-quality results. Here’s a step-by-step guide to help you get started:
Step 1: Measure the Wall Length
Before you begin cutting your crown molding, measure the length of each wall where you plan to install it. Take careful measurements and add a few extra inches to your pieces for cutting adjustments. If your molding will run around corners, be sure to account for those angles in your measurements.
Step 2: Choose the Right Molding
When selecting crown molding for your walls, consider the style and size of your room. For a classic look, opt for wooden crown molding with intricate designs. If you’re working with a modern or minimalist space, simple, clean-lined molding may be more fitting. Also, consider polyurethane or MDF moldings, which are both lightweight and easy to install.
Step 3: Cut the Molding
Use a miter saw to make precise cuts for corners, particularly at 45-degree angles where two pieces of molding meet. Be sure to cut accurately and double-check your angles to avoid gaps.
Step 4: Attach the Molding
Start by applying adhesive to the back of the molding and press it firmly against the wall. You may also need to use nails or screws for additional support, especially if the molding is heavy or large. A brad nailer or hammer and finishing nails will do the job for smaller moldings.
Step 5: Fill Gaps and Finish
Once your molding is installed, fill any small gaps between the molding and wall with caulk or spackle. After the filler has dried, sand it smooth and apply a coat of paint or stain to the molding. Painting your molding to match your room’s color scheme will help it blend seamlessly with the rest of the decor.
💡 Final Thoughts
Crown molding for walls is an affordable and effective way to enhance the design of any room. Whether you’re aiming for a traditional, formal style or a sleek, modern look, crown molding offers the versatility and sophistication needed to elevate your interior design.
With a variety of design options and installation methods available, crown molding can easily fit any budget or aesthetic. Take your room to the next level by adding crown molding to your walls, and enjoy the timeless elegance it brings to your home.
Have you used crown molding on your walls before? Let us know your favorite design ideas or tips for installation! ✨